The day has come that we want to isolate our marketing site away from our Rails app. We knew that we wanted to use a React framework and it came down to Next.js or Gatsby. Ultimately, Next.js won because it has a hybrid static and server rendering capability. Currently, most of our site’s content is static with a couple dynamic pages. Also with the new Next.js 10 features that include internationalization and an Image component that automatically optimizes images with lazy loading, WebP format and responsive sizing were captivating features we plan to incorporate into our site.
While migrating all the Rails erb files to React there was much that needed to be changed. I’m going to document my process of converting Rails files to a newly created Next.js app. I’ll be adding TypeScript, ESLint, CSS Modules, and IE11 detection. I’ll also discuss how I made a reusable SEO component using the Next.js Head component and routing component made from the Next.js Link component.
To begin, I practiced with creating the Next.js tutorial blog app. This helped me get familiar with the Next.js components and the general configuration of a Next.js app. For our new marketing site repo, I used the Next.js boilerplate. The command below will generate the boilerplate code for you.
npx create-next-app

yarn create next-app
Additionally, make sure you have Node.js installed. You will need to have version 10.13 or later. To start the server run npm run dev or yarn dev and go to your development server in your browser at http://localhost:3000.
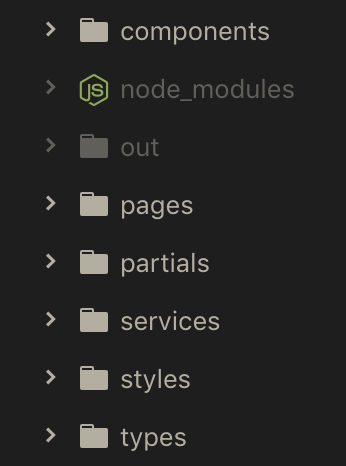
To bring Rails erb files to Next.js I copied the HTML from the views. I kept the general structure of our folders. In Next.js all the pages are React components and housed in the pages directory. It’s important to know that page routes are based on their file name.
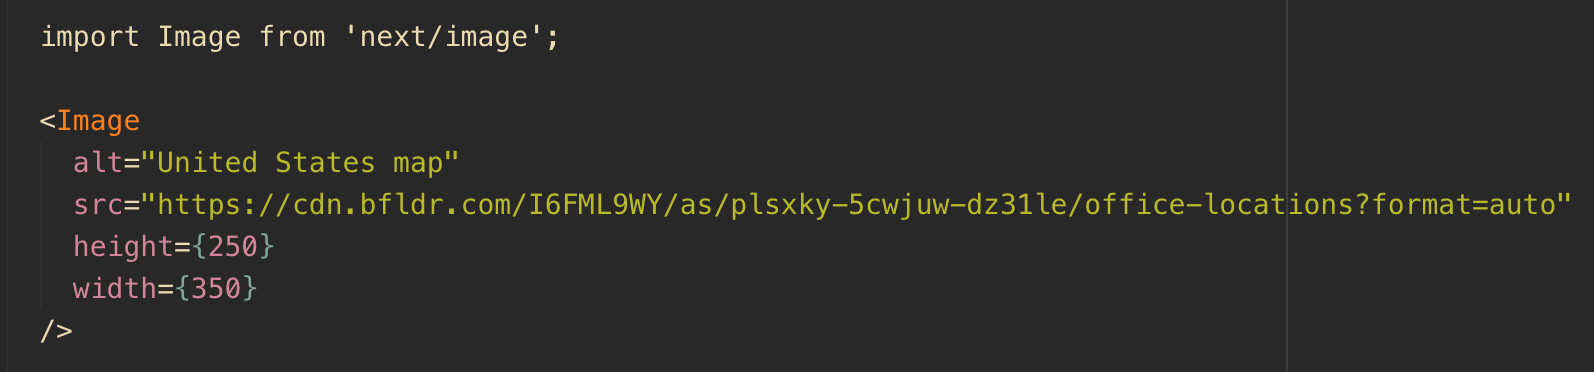
When migrating the code over from Rails there were some immediate errors and updates required. The syntax of the erb files was throwing errors since class needed to be changed to className. All our marketing site images are using our CDN to power our site. Because of the image optimizations with Next.js’s Image component we wanted to use this for our images. Replacing the img tag with the component was super easy. The below img tag:

Turned into this Image component:
However, this was not ideal for images that are absolutely positioned since an outer div wraps around the actual image. Below is an example of the output from using the Image component.

Furthermore, we’re not deploying our app on Vercel, so we will not have automatic configuration of a global CDN or access to the Image Optimization API. When building the application with the Image component this error appeared. When I removed the component and just went back to the img tag the build was successful.

However, we’re able to enable Image Optimization for images hosted on an external site. To enable this you need to create a next.config.js file in the root of your project. This file is for custom advanced behaviors for your Next.js app. Here you will state the absolute url of the image src and indicate which domains are allowed to be optimized.
module.exports = {
  images: {
    domains: ['external.domain.com'],
  }
}
When copying over the Marketo scripts for our forms I thought I could just add the script in the Head component like so:

However, that resulted in the console error of “Uncaught SyntaxError: Unexpected token ‘&’.” I was able to resolve this error by adding dangerouslySetInnerHTML around the Marketo loadForm function. This allows you to pass an object, which in this case was the form, to set HTML directly from React.

For the next parts since there’s multiple steps to each, I will be breaking up how I added:
- TypeScript
- ESLint
- CSS Modules
- IE11 detection
- SEO Head component
- External Link component
TypeScript
Out of the box, Next.js can be integrated with TypeScript. First create a tsconfig.json file. Restart your server and you will get a message in your terminal prompting you with instructions for installing TypeScript.
npm install --save-dev typescript @types/react @types/node

yarn add --dev typescript @types/react @types/node
Now after installing the packages restart your server and the tsconfig.json file has been populated. Additionally, the next-env.d.ts file has been created in order for the types to be identified for the TypeScript compiler. Make sure to NOT delete! Now you can change your .js and .jsx files to .ts and .tsx.
ESLint
There are multiple ESLint packages out there to analyze your code for consistency and to help prevent bugs. It’s really based on preference which ones you install and what your team agrees upon. The packages I installed were:
eslintbabel-eslinteslint-plugin-importeslint-plugin-jsx-a11yeslint-plugin-reacteslint-plugin-react-hooks
Another common one that many teams use is eslint-config-airbnb.
npm install --save-dev babel-eslint eslint eslint-plugin-import eslint-plugin-jsx-a11y eslint-plugin-react eslint-plugin-react-hooks

yarn add --dev babel-eslint eslint eslint-plugin-import eslint-plugin-jsx-a11y eslint-plugin-react eslint-plugin-react-hooks
Once you’ve installed the packages you will want to create an .eslintrc.js or .eslintrc.json file in the root of your project. In this file you will specify your linting rules.
module.exports = {
  env: {
    commonjs: true,
    node: true,
    browser: true,
    es6: true,
    jest: true,
  },
  extends: [
    "eslint:recommended",
    "plugin:jsx-a11y/recommended",
    "plugin:react/recommended",
    "plugin:@typescript-eslint/recommended"
  ],
  globals: {
    "React": true
  },
  parser: "@typescript-eslint/parser",
  parserOptions: {
    ecmaFeatures: {
      jsx: true,
    },
    ecmaVersion: 2018,
    sourceType: "module",
  },
  plugins: [
    "react",
    "import",
    "jsx-a11y",
    "react-hooks"
  ],
  ignorePatterns: [
    "node_modules/",
    "out/"
  ],
  rules: {
    "jsx-a11y/anchor-is-valid": 0,
    "react/react-in-jsx-scope": "off",
    "react/no-unescaped-entities": 0,
    "semi": [1, "always"]
  },
  settings: {
    "import/resolver": {
      "node": {
        "extensions": [
          ".js",
          ".jsx",
          ".ts",
          ".tsx"
        ]
      }
    },
    react: {
      version: "latest",
    },
  }
};
When you execute the yarn export command, an out folder is generated with all your served pages. You will want to ignore linting this folder.
ignorePatterns: [
  "node_modules/",
  "out/"
]
If you’re using TypeScript I would recommend adding these packages:
npm install --save-dev typescript @typescript-eslint/parser
npm install --save-dev @typescript-eslint/eslint-plugin

yarn add -D typescript @typescript-eslint/parser
yarn add -D @typescript-eslint/eslint-plugin
Additionally, you will need to override react/prop-types otherwise the linter will be screaming about “X is missing in props validation”
overrides: [
  {
    "files": ["**/*.ts", "**/*.tsx"],
    "rules": {
      "react/prop-types": "off"
    }
  }
]
CSS Modules
With Next.js there’s no configuration to set-up CSS Modules, hooray! It’s automatically based on the file naming convention.
You will want to name your component files using this convention: [component].module.css. If you’re using Sass it will be [component].module.scss.
When scoping your component styling with CSS modules you will need to append the element class with styles. Then you will have to import the stylesheet into your React component.
import styles from './component.module.scss'There are multiple ways to write your CSS modules when declaring the class name. First there is dot notation:
className={styles.blog}However, what if you have a hyphen within your class? You can either make the class camelCase or kebab case works with bracket notation.
className={styles.blogTitle}

className={styles['blog-title']}
Let’s say you have a global style, which you want to specifically target in a component and change it slightly. I found that you can state the global class name, but then in order to target it within a component you have to use CSS Modules. For example, I’m targeting my class flex-half. There’s a global style for making this class width 50%. In my component I want to add specific padding to this class. I can accomplish this by adding the global class in addition to making that global class a CSS module:
className={`flex-half ${styles['flex-half']}`}While we’re on the topic of styling, Sass is real easy to set up in Next.js and can be used in your CSS Modules. Both the scss and the sass extensions are supported. You will just need to install sass.
npm install sass

yarn add sass
IE11 Detection
To my surprise, when I tried to set this variable I received a console error message of window is not defined.
const ie11 = window.navigator.userAgent.indexOf('Trident') !== -1;
The window isn’t defined because Node.js renders the application and the window object isn’t accessible through Node.js. I came across this article for more details about this.
I was able to access the window object by using the React useEffect hook.
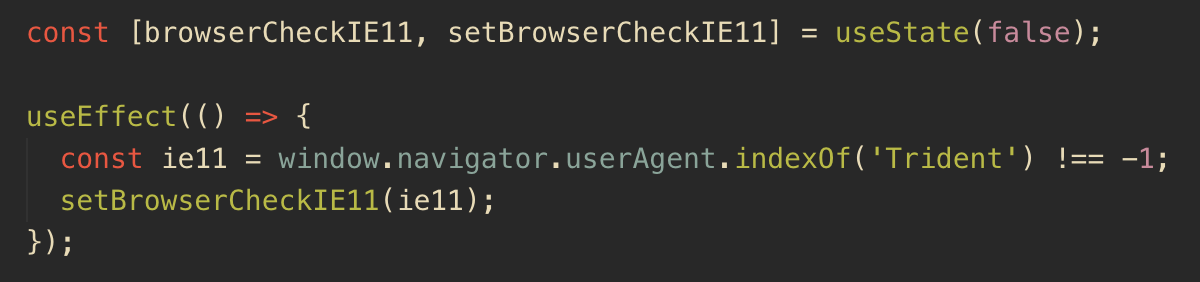
Since I wanted to add CSS fallbacks for specific styles in IE11 I was then able to check the state to determine if the browser was IE11 and add a class.

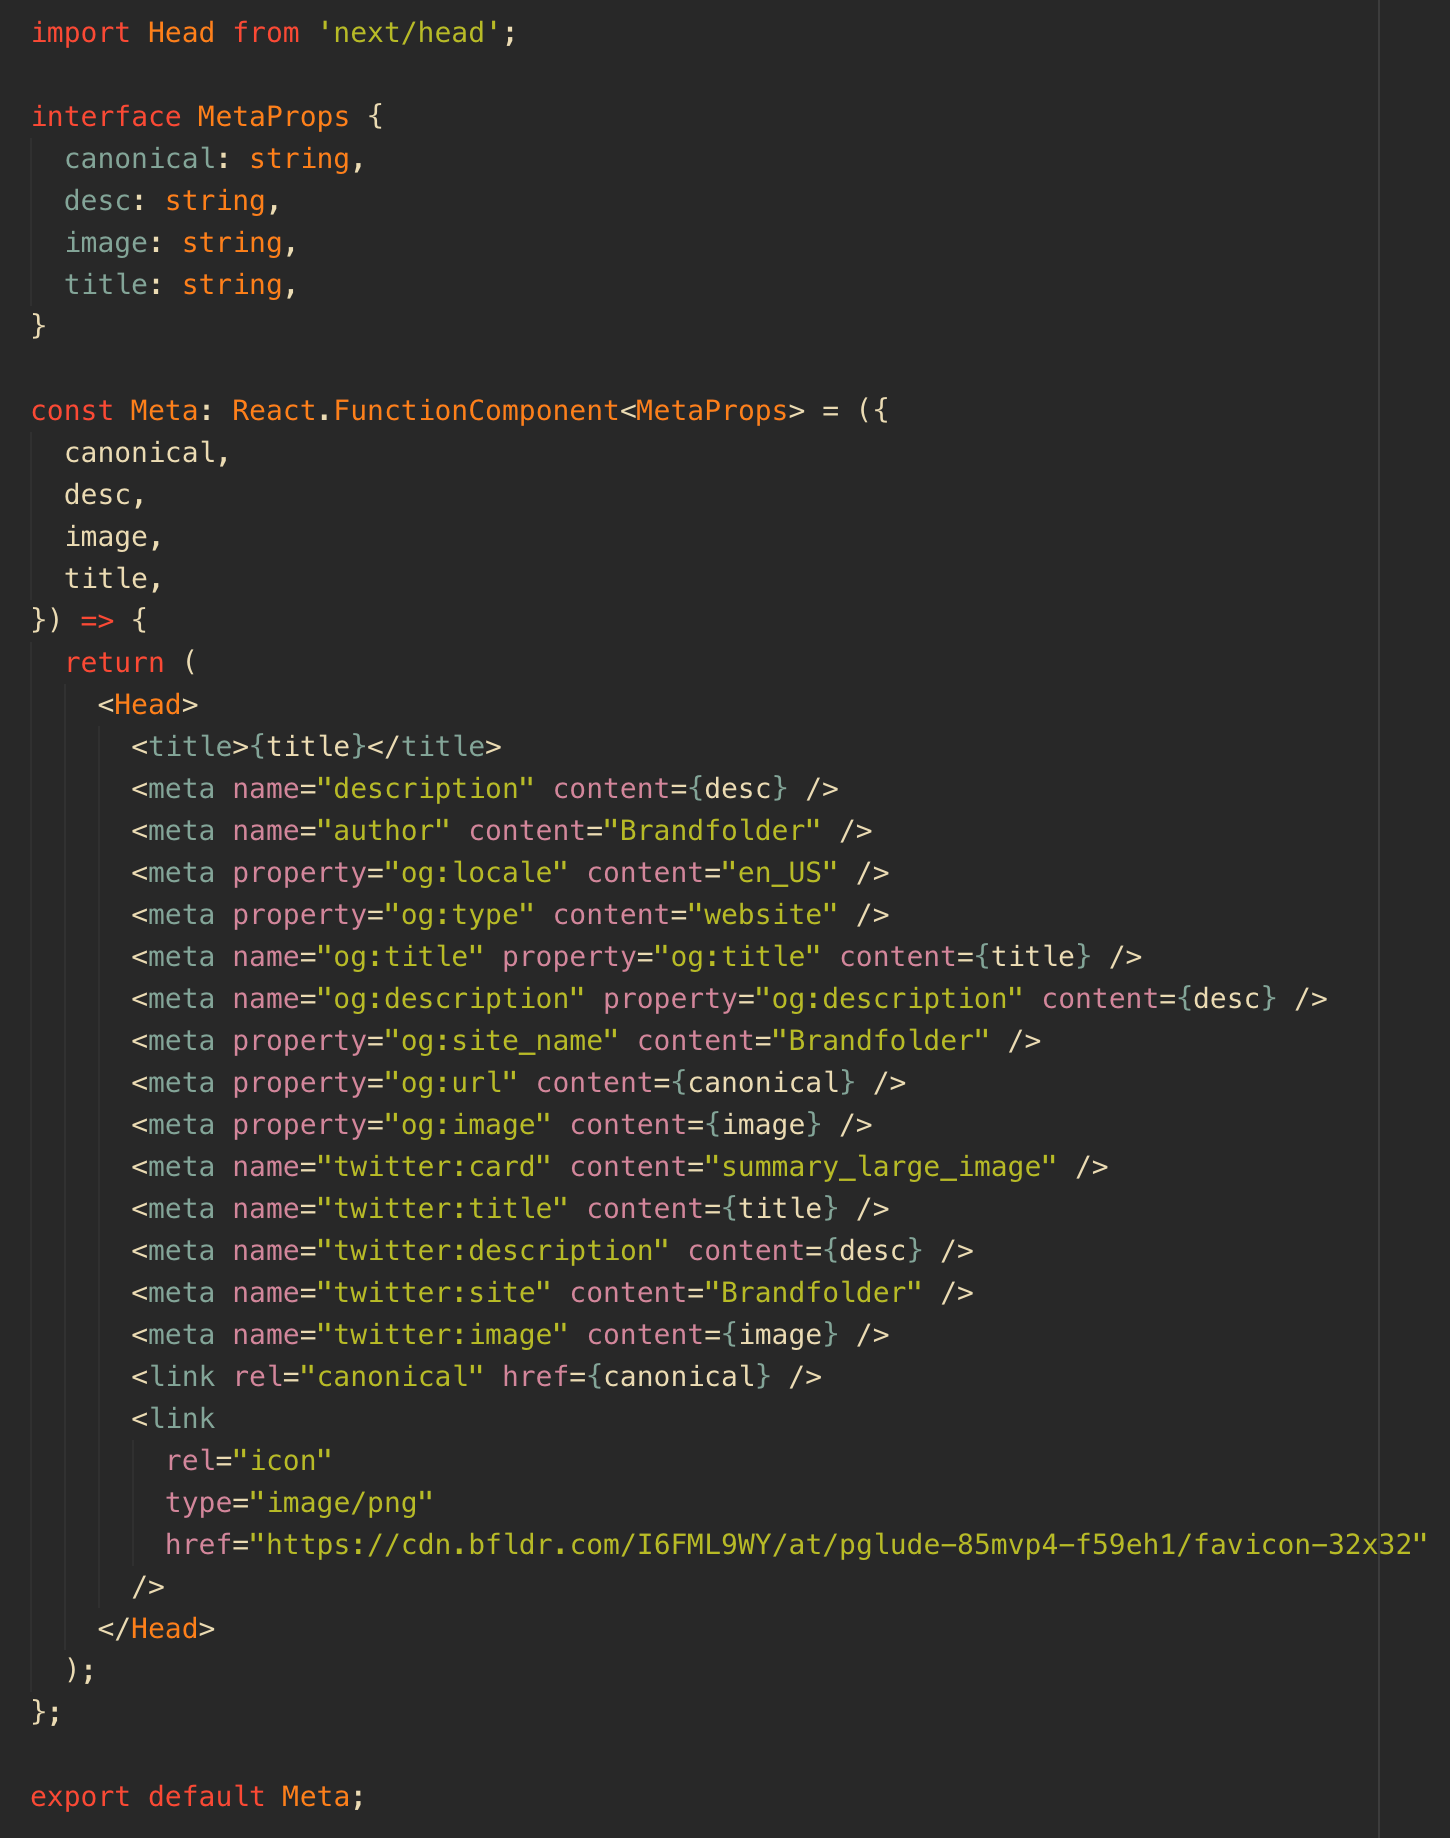
SEO Component
It was very important that creating this new Next.js app would not impact our SEO. There’s a common package called next-seo that passes an object with your SEO properties to your pages. However, I decided to make my own custom SEO component. Next.js has a Head component that appends elements to the head of the page. This component can then be reused on each page and the specific metadata can be passed through.
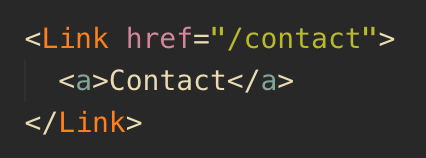
Routing Component
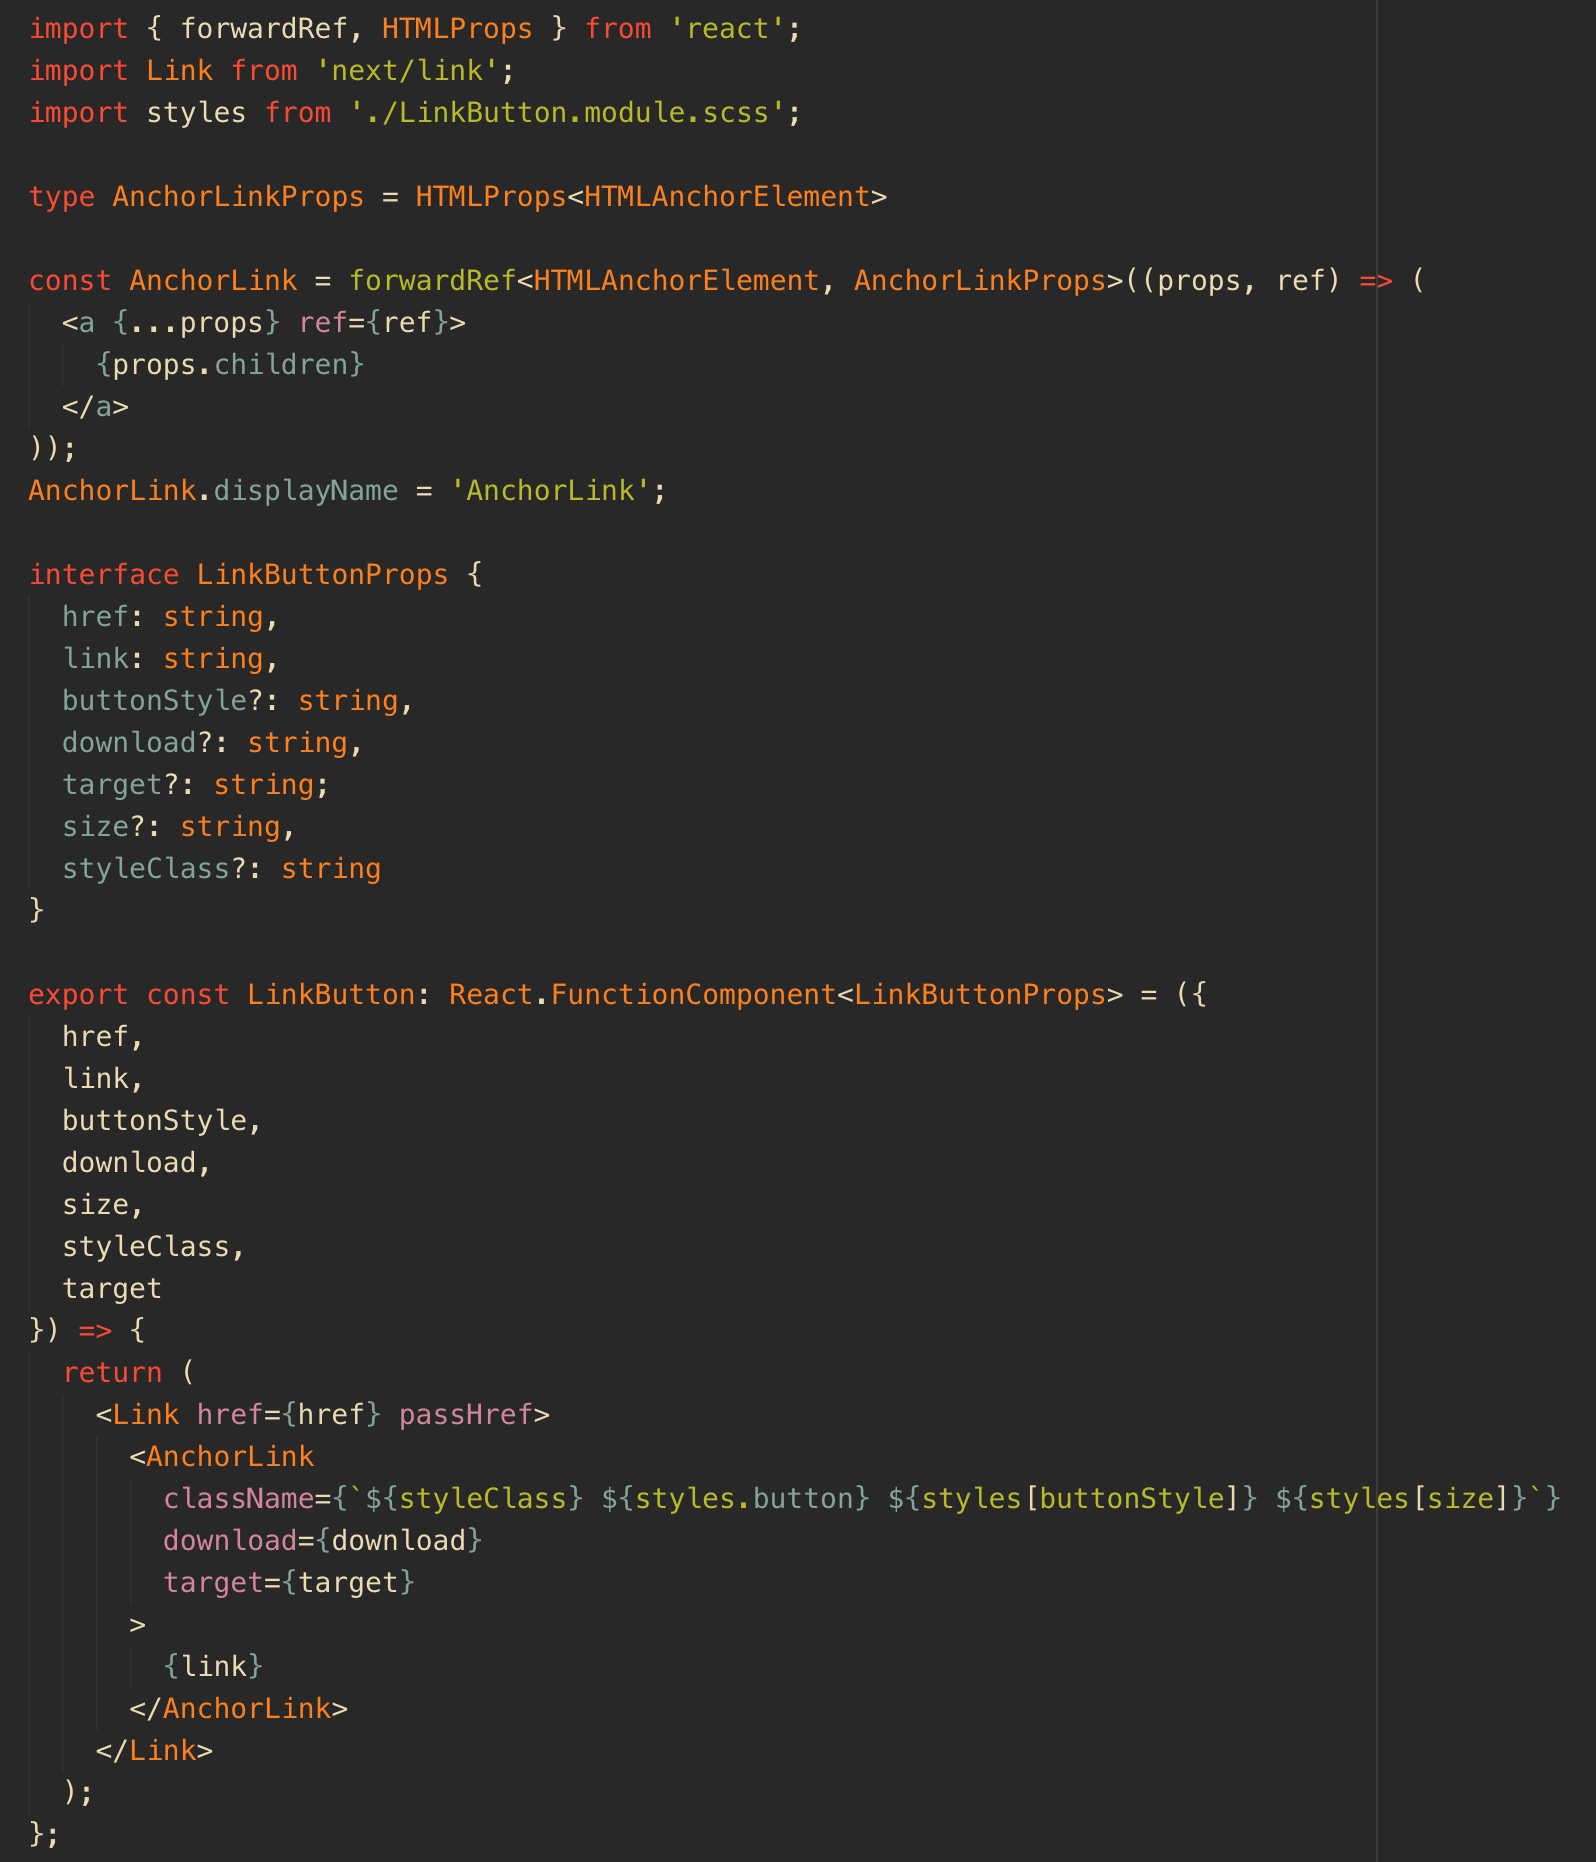
When routing between pages the Link component is required. Any file that is created in the pages directory will have an available route. Nested routes are also dependent upon your file structure in the pages directory, so be explicit with your naming. We have several links that look like buttons on our site that link to other internal pages, so I wanted to create a reusable link component. A typical page route using the Link component would look like this:
Since I wanted to style my anchor tag like a button and pass other props to it, I created this LinkButton component.
Conclusion
- Migrating from Rails to Next.js was a long process, but if you know React and have your views, partials and components already built out from prior code this is a great starting point with the structure of your Next.js app. 📂
- There were some gotchas, especially with using the Image component. I’ll be keeping an eye out for when I can easily absolute position these images. 🖼 Additionally, routing had some nuances that were new. Like the naming convention of your files in the pages folder will be your slug and client-side routing required the use of the Link component wrapped around your anchor tag.
- Loved that CSS Modules 🎨 was set-up out of the box and there was no configuration within the next.config.js file required.
- Overall, Next.js has good documentation and a large community of developers, so there’s lots of examples and resources. It was an easy to use framework that was quick to set up. Next, I’m looking forward to learning more about their internationalized routing! 🌎